Our Backyard Patio Project: The Pavers Are Finally Here


If you’ve been following along with our backyard renovation journey (you can catch up on how we turned our yard from neglected to dream oasis in 8 weeks, or how we prepped our patio for installation), you know this project has been full of slow victories, heavy lifting, and a lot of dirt.
After five weeks of waiting (shout out to every other DIYer who’s tracked a pallet delivery like it’s a thrilling football game), our pavers finally arrived! And that means: we’ve officially started laying the patio.
Where We’re At Now
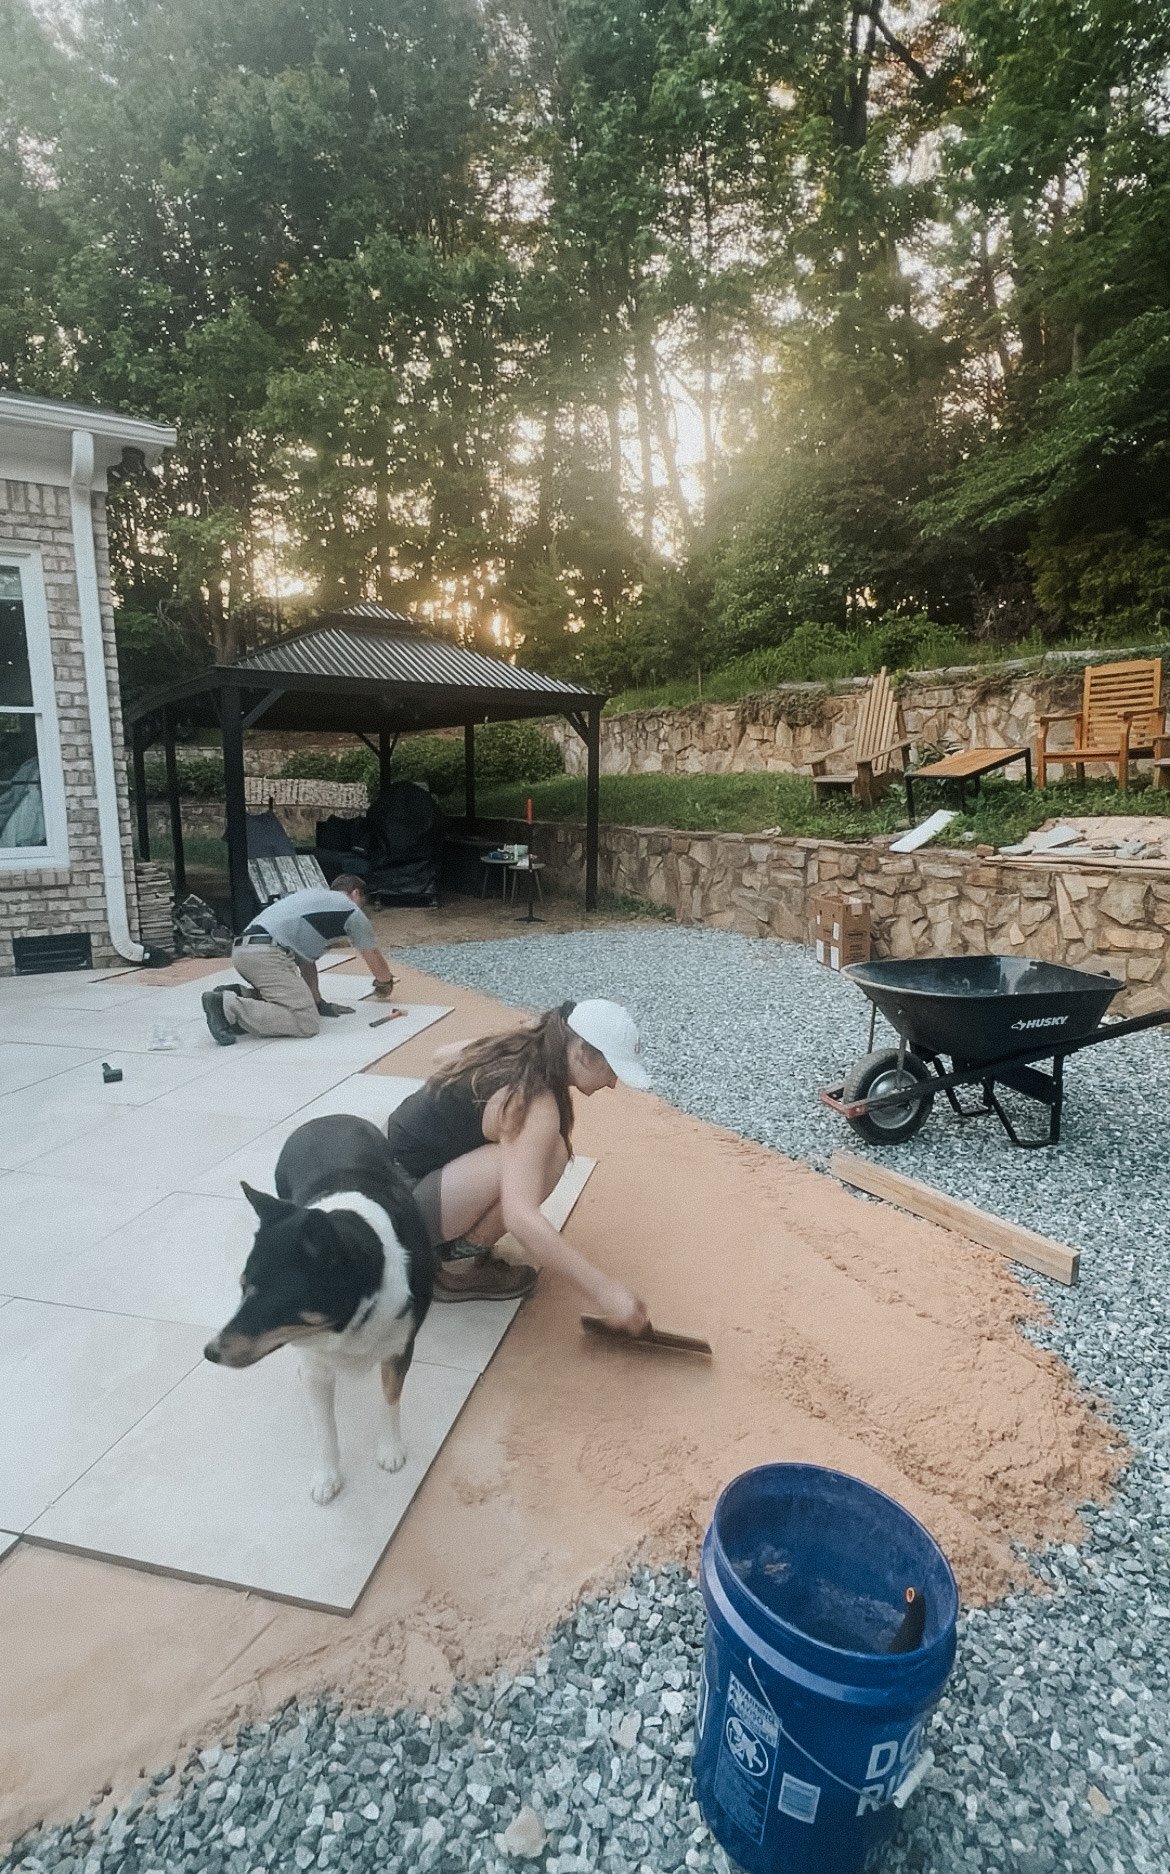
In total, we’ve got 284 pavers to lay — and in our first official day, we placed 40 of them. That might not sound like much, but seeing those first few rows lined up gave us all the motivation we needed to keep going.
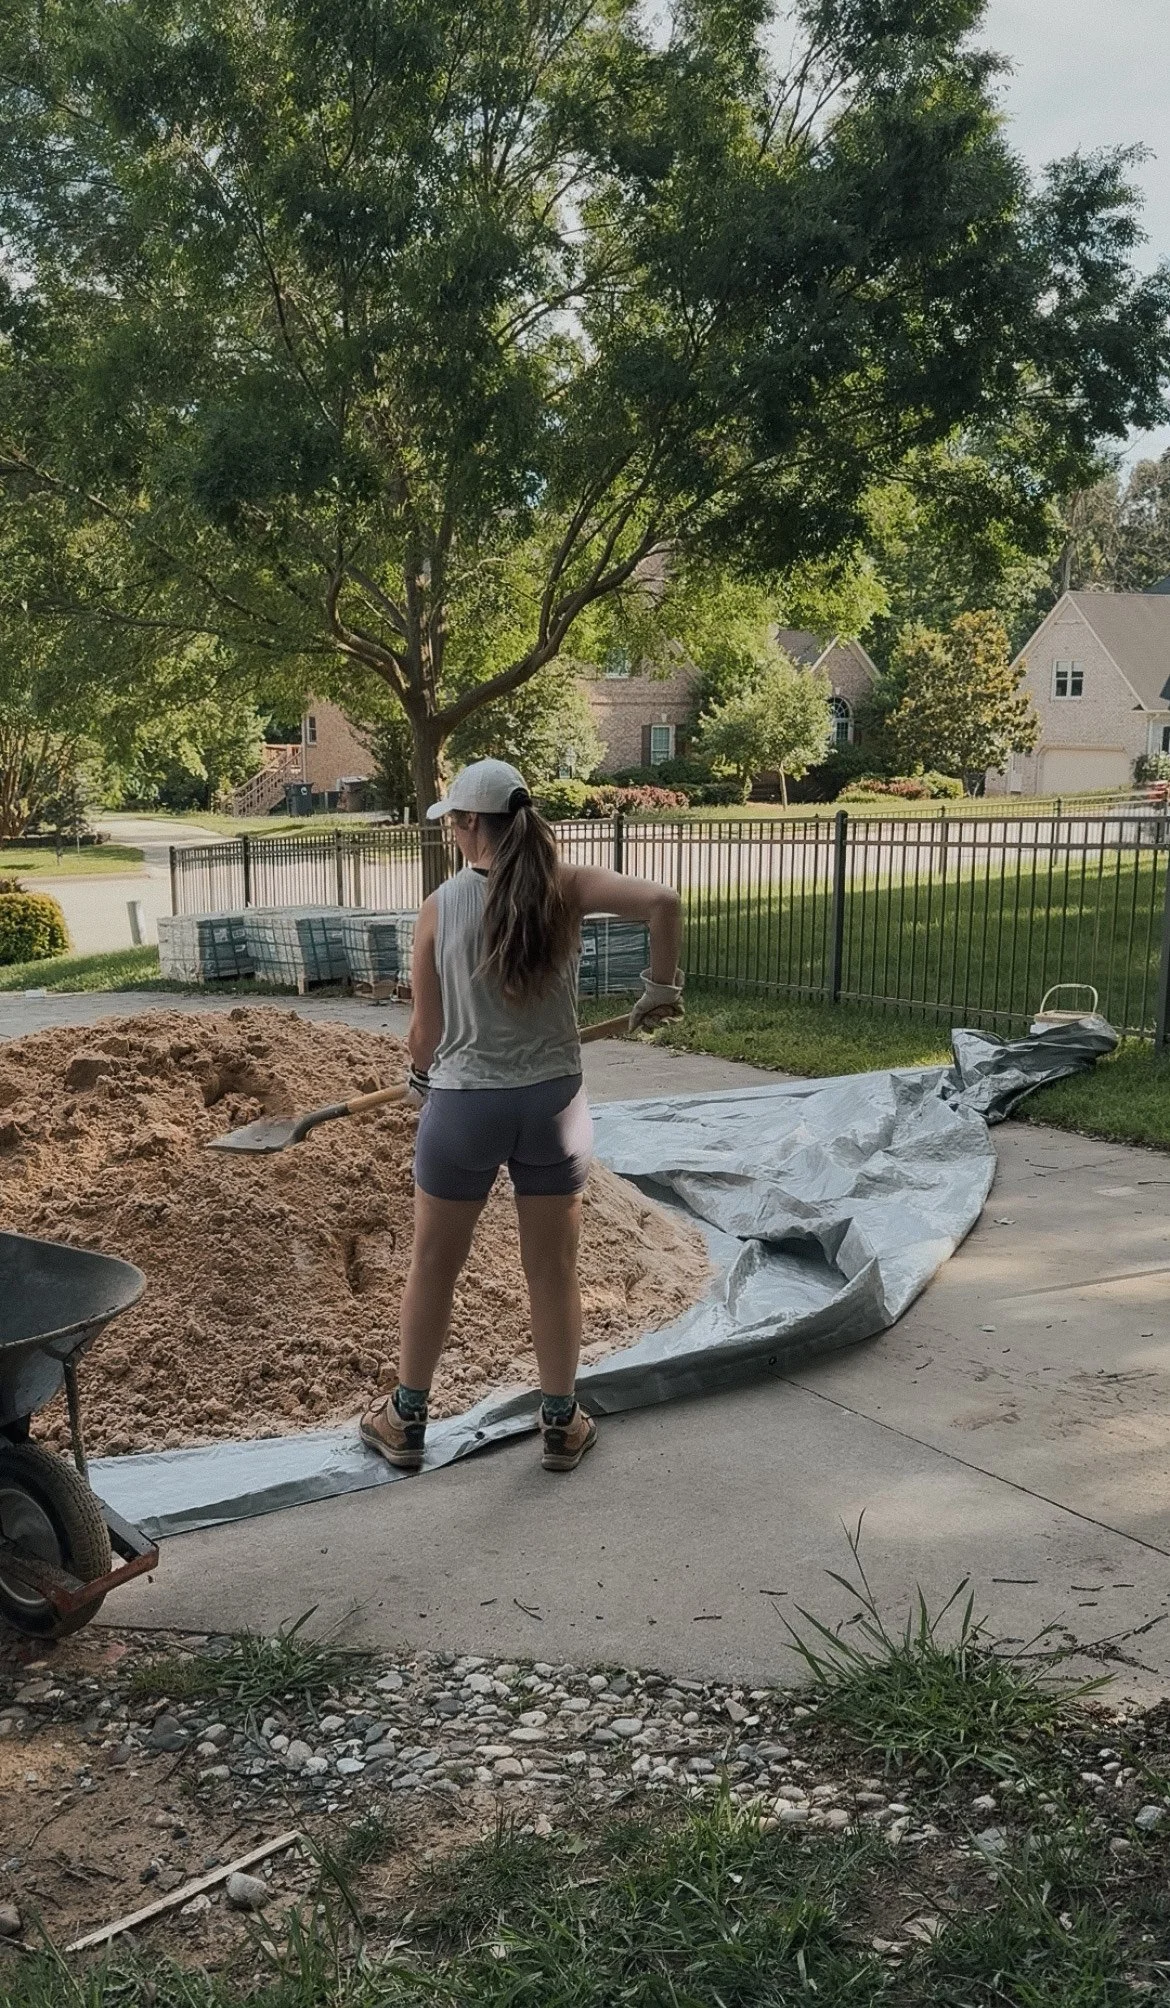
We’re taking our time to ensure everything is level, aligned, and prepped to last — but let’s just say, the road here wasn’t exactly smooth.
The first few rows we laid over the old concrete slab were, frankly, a nightmare. Let’s just say... the patio wasn’t the only thing getting heated. Every attempt to get the pavers level sparked another round of “spirited marital debate,” and we really began to understand why landscapers quoted us to just remove the concrete altogether. Once we got to the gravel section, things smoothed out — literally and emotionally.
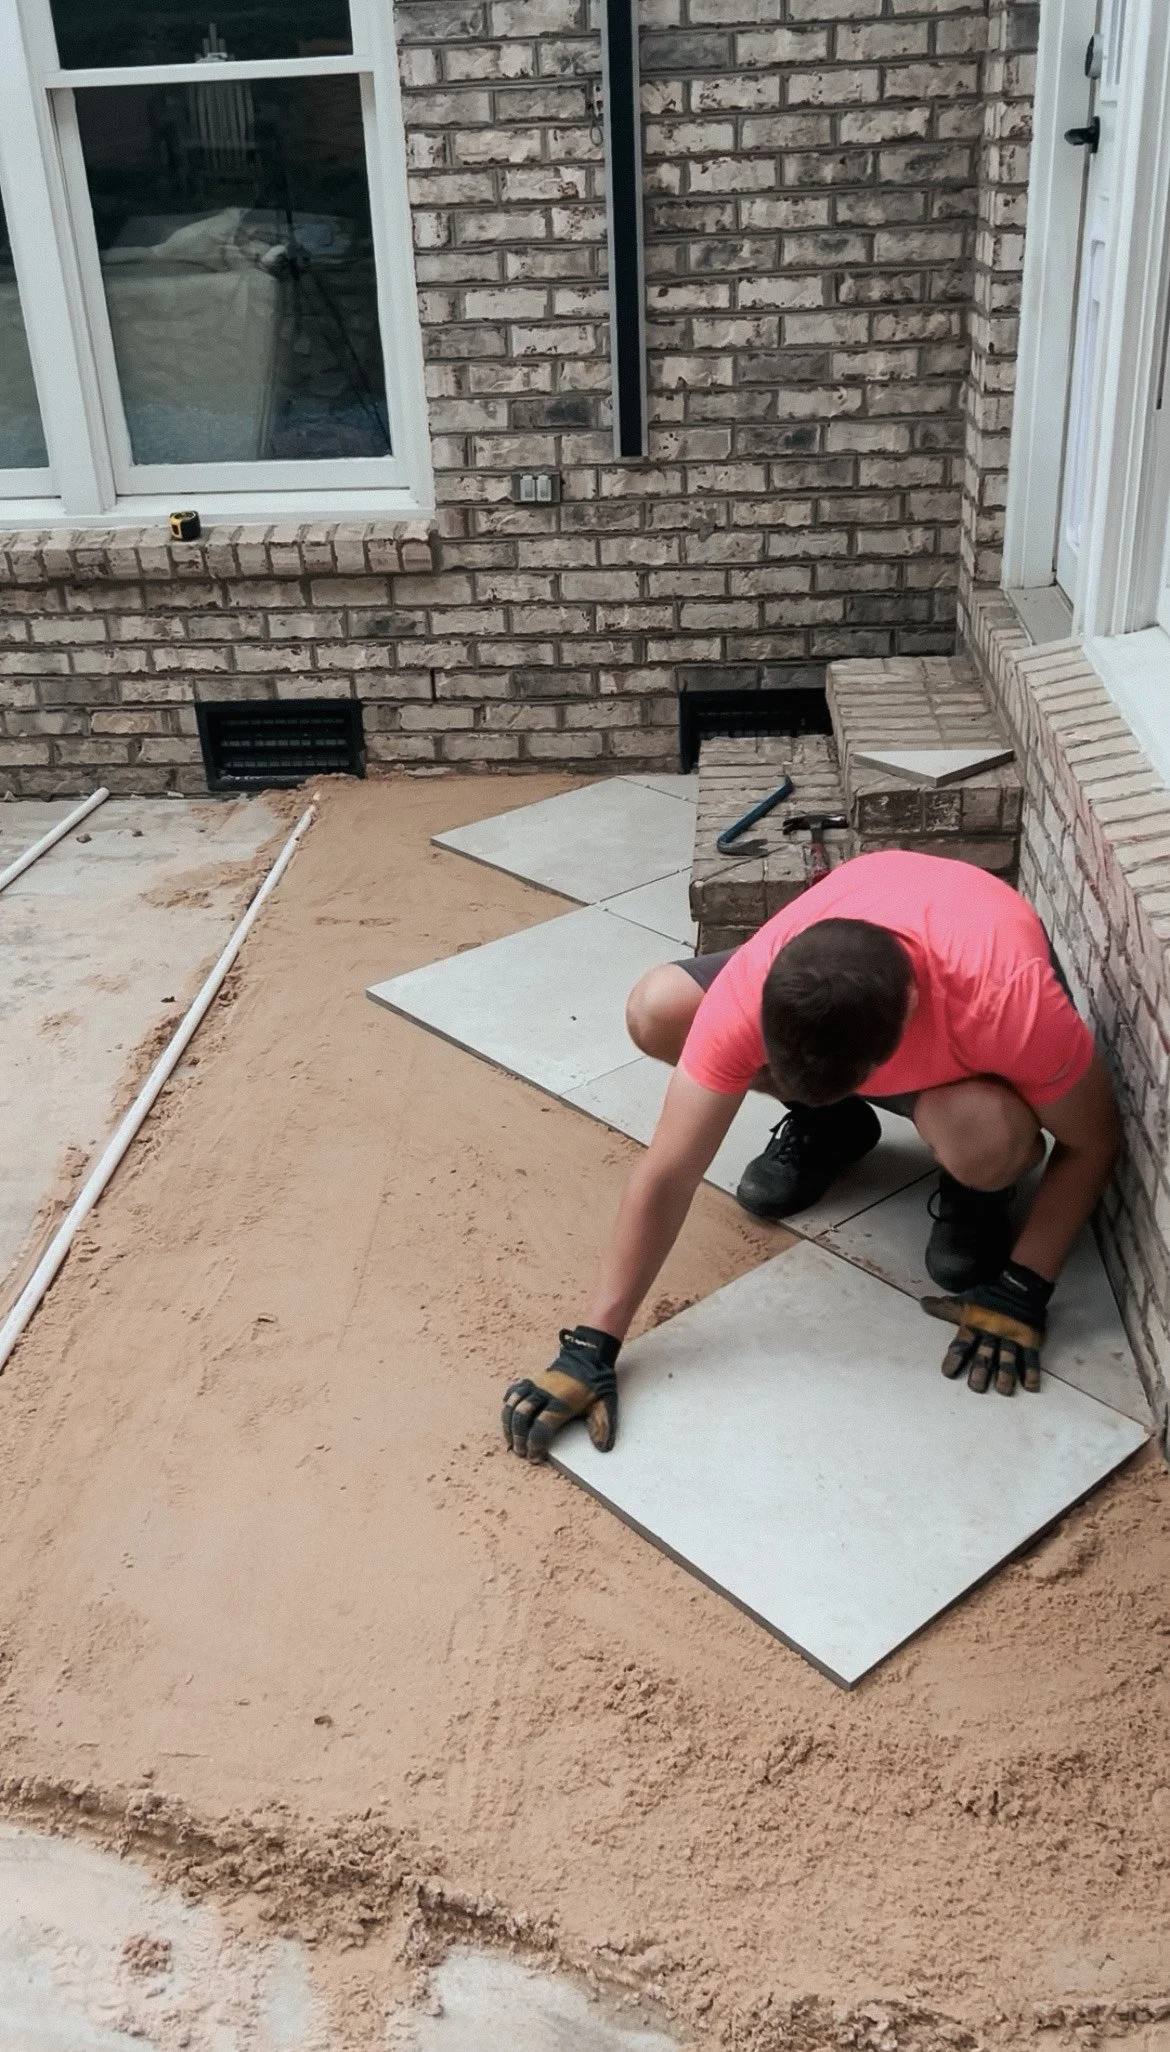
Once we moved onto the section with compacted gravel and sand — no concrete underneath — it was a night and day difference. Everything laid so much smoother. That’s also when Jake and I got into a classic "who’s right?" moment: he was convinced the pavers were going to be less stable on the gravel. I argued they’d self-level better over the sand. And to my absolute delight (and his visible shock), I was right. The gravel + sand combo let the pavers settle into place beautifully with just a little tapping.
It’s been a long process, but watching this space transform — one paver at a time — is incredibly satisfying. Even with the arguments, the sand in every crevice, and the occasional existential crisis, seeing that first finished corner come together reminded us why we took this on in the first place.
What We Learned (So Far)
Here are a few lessons we've picked up already in this early stage of paver-laying:
1. Patience Isn’t Optional
Waiting five weeks for our pavers to be delivered was rough, but we learned that backorders are very common, especially during peak landscaping season (late spring to early summer). If you're planning a similar project, order your materials well in advance. And advocate for yourself, call your supplier as many times as you need to, to get those answers on when things are being delivered.
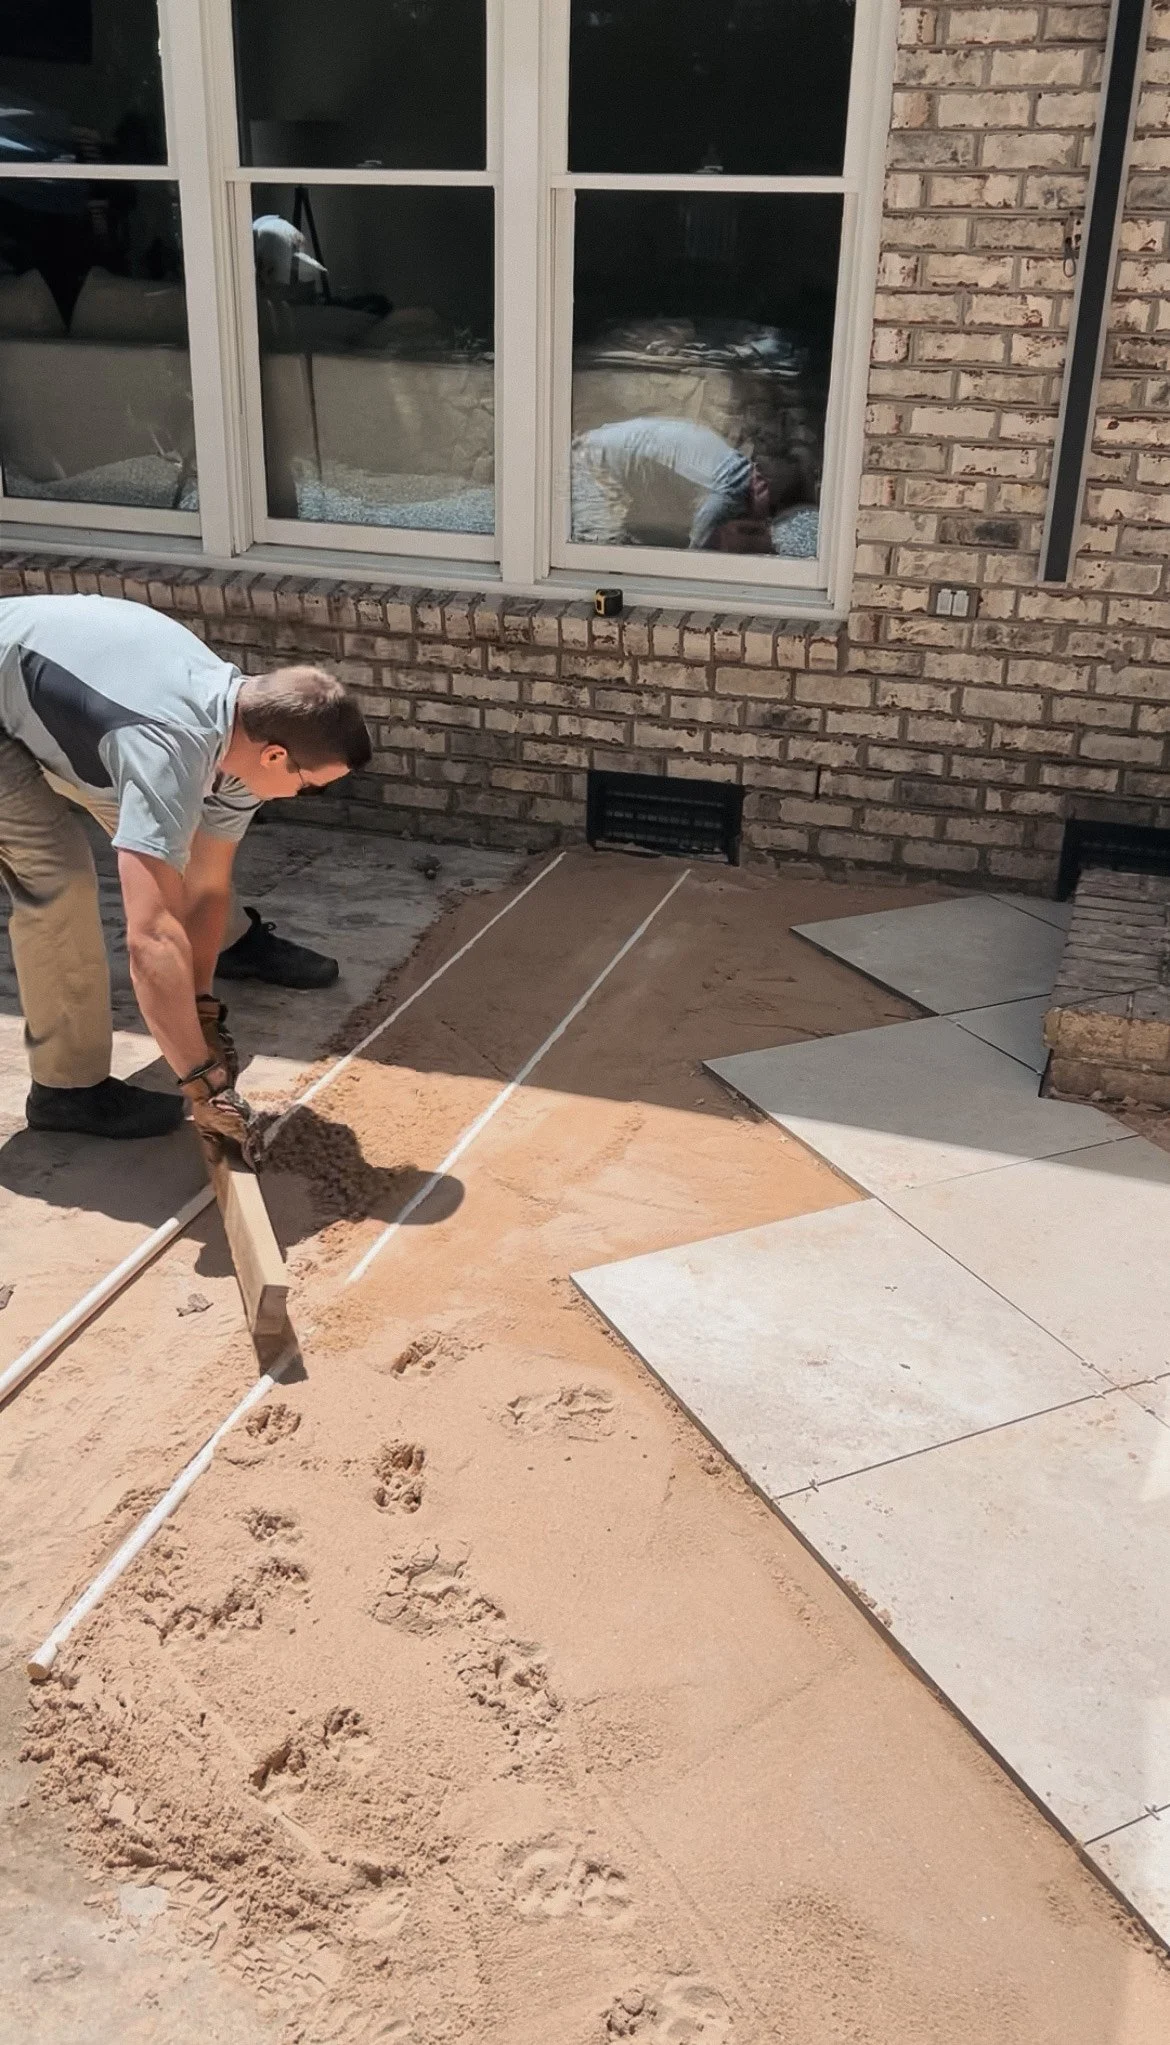
2. Sand Matters
Before placing pavers, you’ll need a bedding layer of sand — this allows you to adjust each paver and gives your patio a solid, shift-free foundation.
3. Invest in the Right Tools (Even If It Hurts a Little)
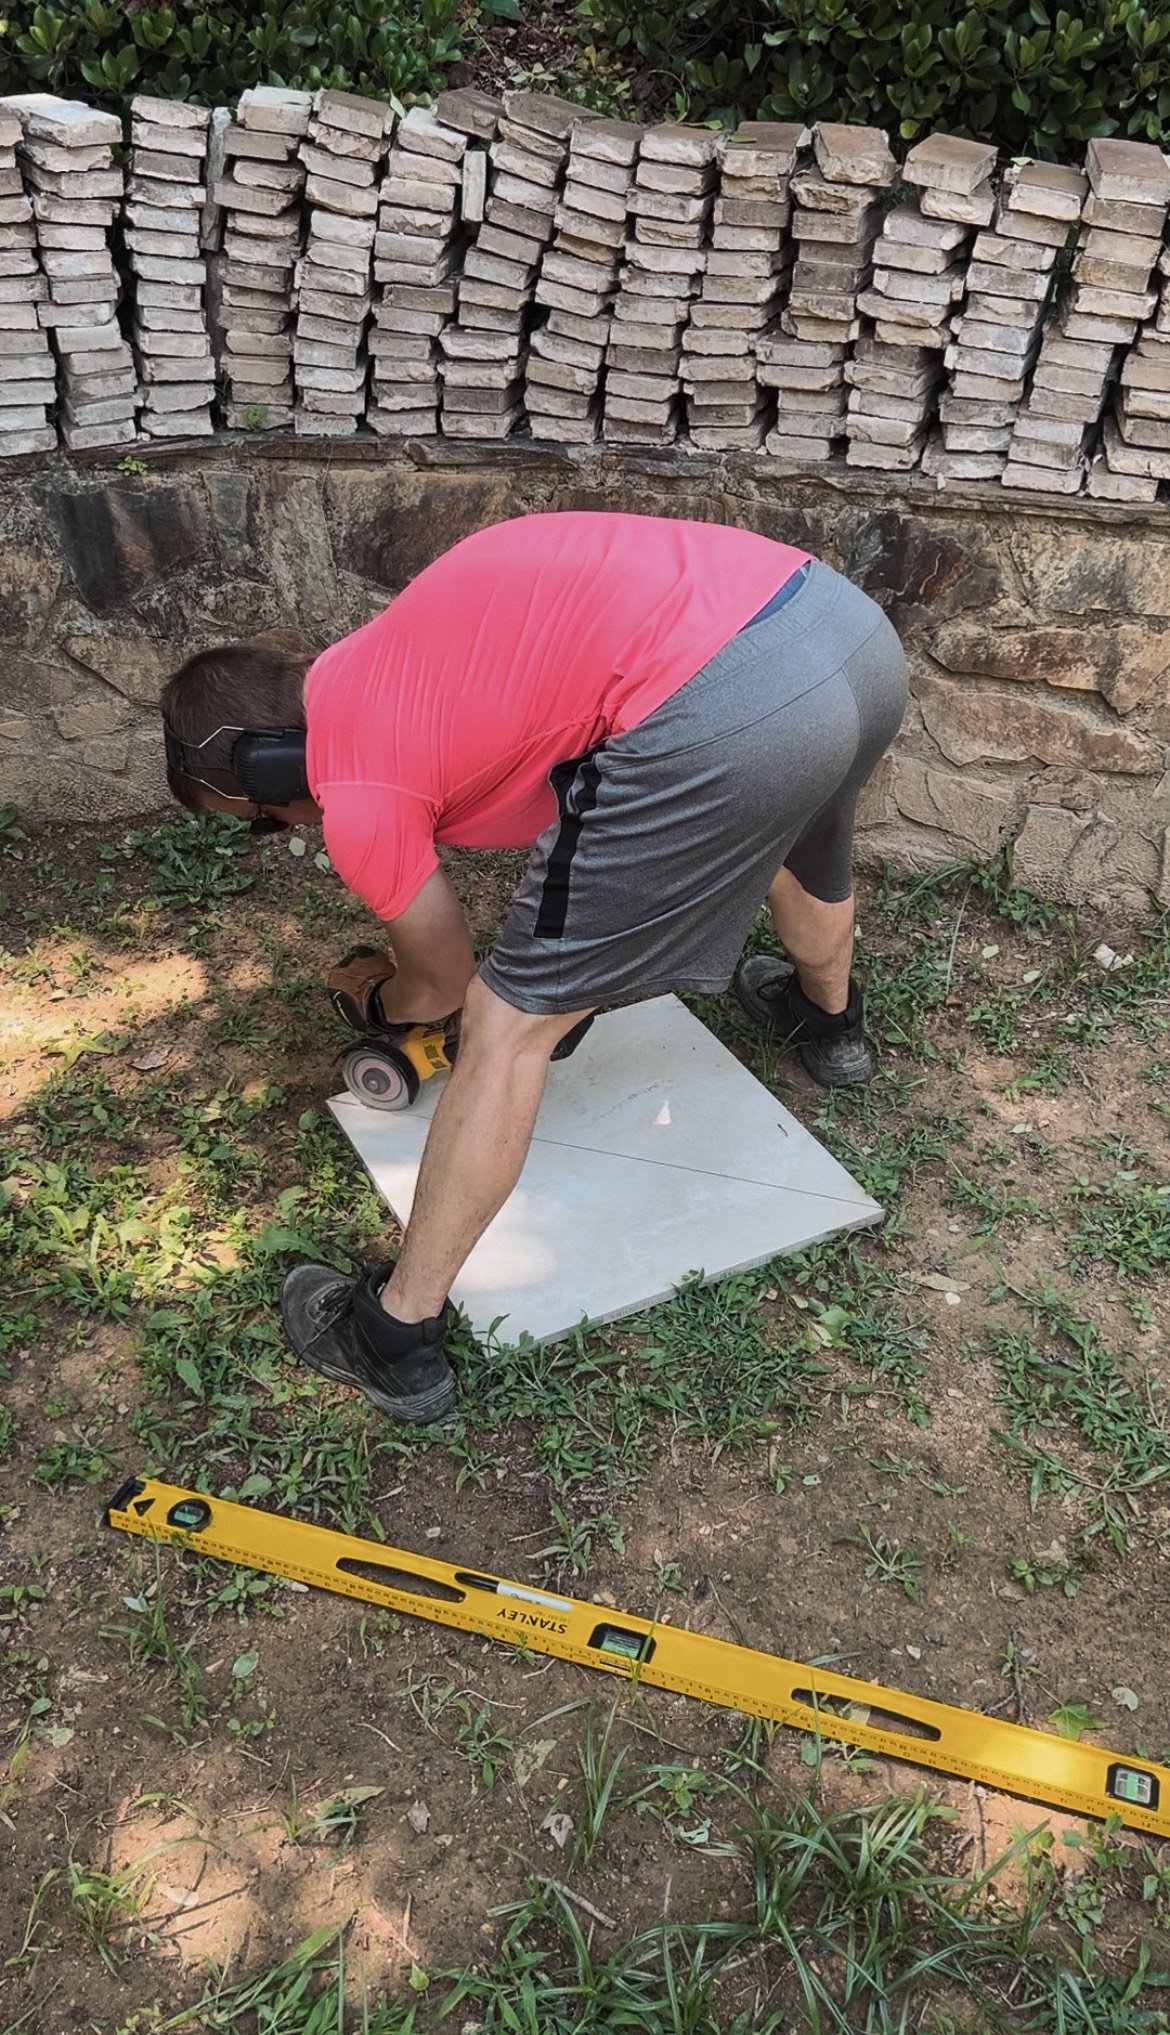
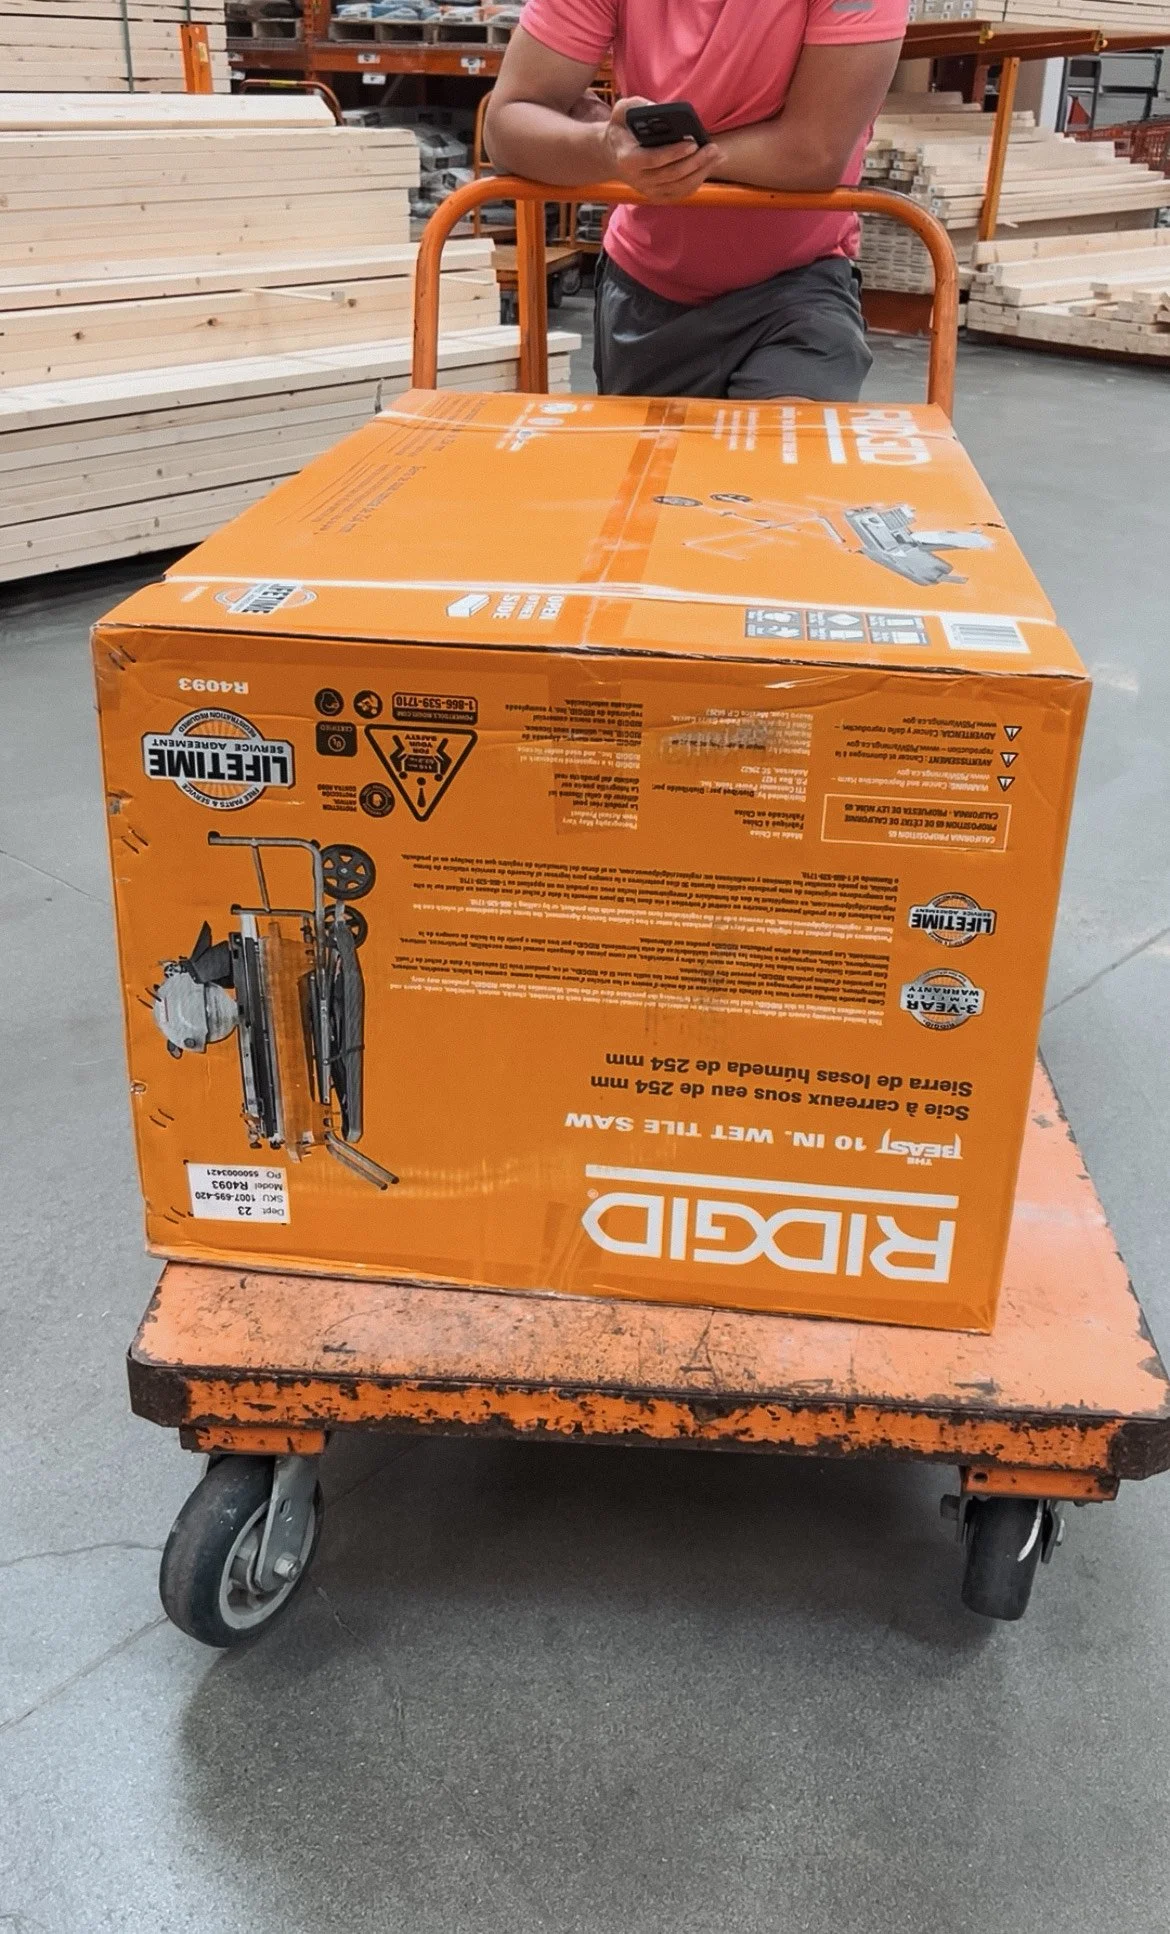
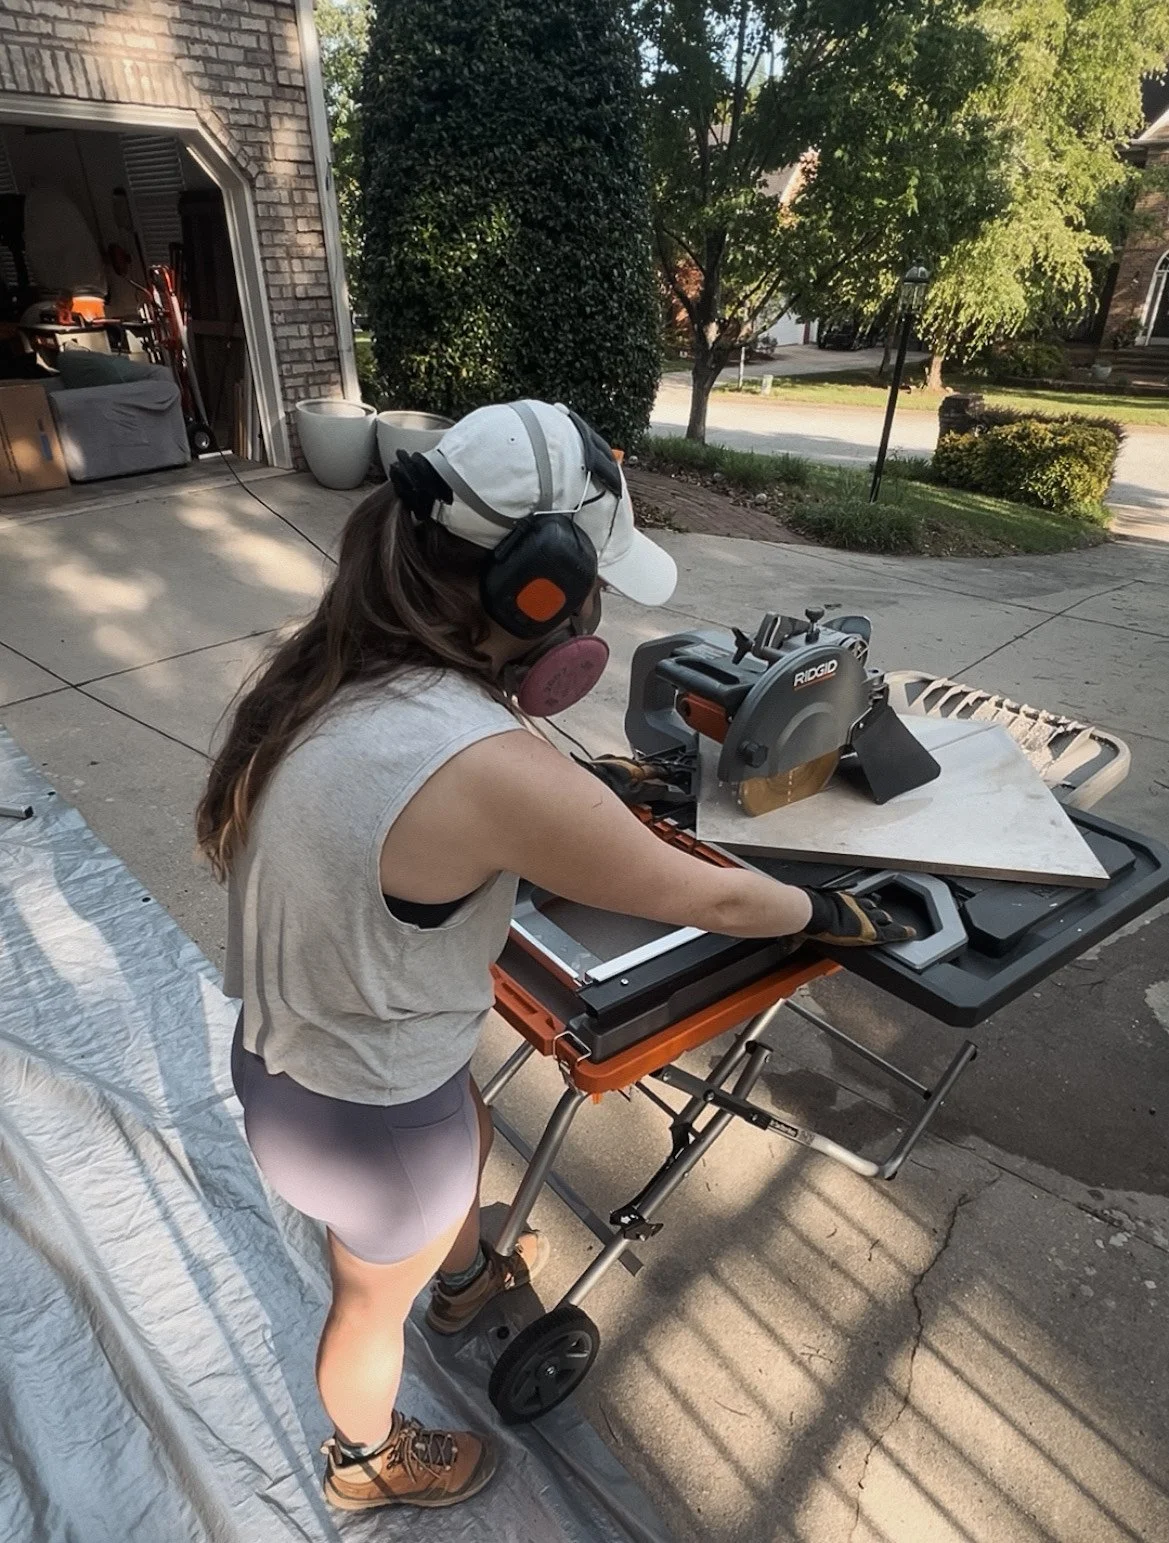
We initially thought we could save some money and make our paver cuts using our angle grinder with a diamond blade. Spoiler alert: it didn’t work that well. It was chipping the pavers, messy, and way too imprecise.
We ended up purchasing a wet tile saw, and the difference was night and day. It gave us clean, accurate cuts and saved a ton of time and frustration. What softened the blow for us, was doing the math and realizing renting the tile saw for this project and all of our bathrooms would run much higher than purchasing!
Pro Tips for DIY Paver Installation
Here are a few more things we recommend if you're diving into a patio project:
Use string lines or a laser level to keep everything straight. Your eyes will deceive you after an hour of bending over.
Start in a corner or along the longest edge and work outward.
Use spacers to keep your joints consistent if your pavers don’t have built-in tabs.
Plan your cuts ahead of time — try to avoid tiny slivers along the edges if you can help it.
What’s Next?
Next up: more paver laying (a lot more), more tile cutting, and the beginnings of filling the cracks with polymeric sand to lock everything in place. Once the patio is fully laid, we’ll move into landscaping, lighting, and adding finishing touches to truly bring the space together.
We’ll be sharing more progress updates (and maybe some time-lapses for fun), plus breakdowns of what we spent, what we’d do differently, and what tools really saved the day.
Thanks for following along with us — it’s been a journey, but we’re starting to see the finish line!
Until next time,
– The Bowens
